
Vinyl plank installation · Springfield, MO
Vinyl plank installation in Springfield, MO: what happens from measure to move-in
Vinyl plank installation in Springfield usually comes down to one thing you can't see in the showroom: what is under your old floor. The plank you pick matters, but the floor underneath decides how smooth, quiet and solid the finished room feels. Here is the whole process, from the free in-home measure to the day you move the couch back, so you know what to expect and what to ask.
Step 1: pick the plank for the room, not just the color
Start with how the room is used. A kitchen, a mudroom and a basement family room each ask something different of a floor. Note which rooms connect, because most people want one floor running through the open areas with no break at every doorway. You can browse our vinyl plank before you visit and see each style's material price per square foot, and our vinyl plank cost guide shows how a room is priced.
Bring a photo of the room and take a few samples home. Look at them in the morning and at night. A gray that looks right under showroom lights can read blue or green next to your cabinets.
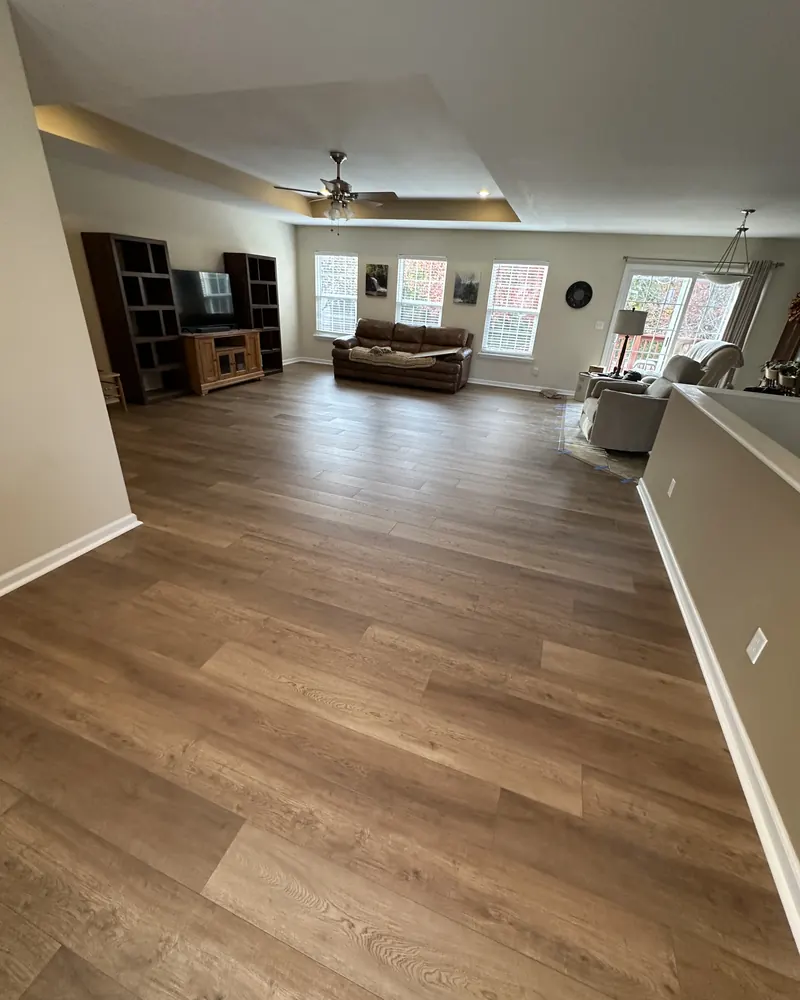
Step 2: the free in-home measure
Before anything is ordered, we measure your rooms in person, and the measure is free. Our online estimator asks what is under your floor, and the measure is where we check it.
That check is the most important part of the visit. Vinyl plank is thin compared with hardwood, so it shows what is beneath it. A dip, a ridge or an old tile grout line can show through over time, and a click-together floor laid over an uneven spot can flex or separate at the seams. If the floor underneath needs leveling or other prep, we tell you at the measure, and it is only added if your floor needs it. No surprise line item on install day.
The measure is also the time to point out anything unusual:
- Rooms on different levels, like a step down into a sunroom
- A floor that squeaks or feels soft in one spot
- Doors that already drag, which may need trimming if the new floor sits higher
- Where the new floor meets carpet, tile or hardwood that is staying
Step 3: getting your home ready
A little prep the week before keeps install day on schedule.
- Clear small items, breakables and anything stored on the floor in the rooms getting new flooring.
- Ask when you schedule how furniture and appliances will be handled, so you know what to move ahead of time.
- Unhook TVs, computers and their cords yourself.
- Plan for pets and kids to be somewhere else for the day. Doors stay open and saws are running.
- Leave a clear path from the driveway to each room for boxes of plank.
- Keep the house at normal living temperature. Many vinyl plank makers want the planks and the room at a steady temperature before and during install, so this is not the week to shut off the heat.
Step 4: install day
On install day the work typically goes in this order:
- The old floor comes up. Tear-out and haul-away of your old floor are included in our installed price.
- The subfloor gets checked and prepped. Staples, old adhesive ridges and debris come out, and any leveling found at the measure gets done now, before a single plank goes down.
- Underlayment goes down if the product calls for it. Some planks have a pad already attached, and some are made to go down without one.
- The planks are laid out. Installers plan the rows so the first and last rows aren't thin slivers against a wall, and so the end seams are staggered in a natural pattern instead of lining up.
- A small gap is left at the walls. Floating vinyl plank needs room to expand and contract with the seasons. That gap gets covered by baseboard or quarter round, so you never see it.
- Transitions go in where the new floor meets another floor or a doorway, and the area is cleaned up.
Kitchens and bathrooms take more cutting around cabinets, toilets and door frames, so they take longer per square foot than an open living room. Stairs take the most time of all, because each tread and riser is cut and fit by hand.
Someone should be home at the start to walk through the rooms and at the end to look things over.
Step 5: the first few days
A floating vinyl plank floor can usually be walked on right away. A glued-down floor may need time for the adhesive to set, so ask before the crew leaves. Before you slide heavy furniture back, put felt pads under the legs, and lift appliances instead of dragging them across the new planks. Use a soft broom or a vacuum without a beater bar, and skip steam mops unless the product's care instructions allow them.
If you see a seam lifting, a plank that clicks or moves underfoot, or a transition that catches your toe, call us at (417) 751-0242. These are things to look at early, while the job is fresh.
Why the install matters as much as the plank
Two homes can buy the same vinyl plank and end up with different floors. The difference is almost always the prep and the install: how flat the floor was underneath, how the rows were planned, and how the edges and transitions were finished. When you compare prices, compare the whole job, not just the price per square foot of the plank. Our installed price includes professional installation and the tear-out and haul-away of your old floor, and floor prep is added only if your floor needs it.
We install vinyl plank for homes in Springfield, Battlefield, Ozark, Rogersville, Nixa, Republic and Willard. Start your flooring estimate online, or call (417) 751-0242 to set up your free in-home measure.